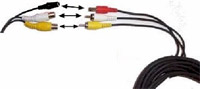
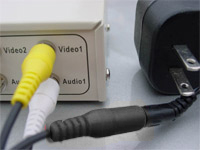
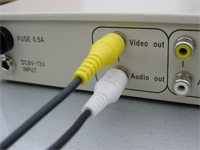
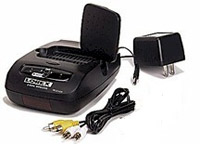
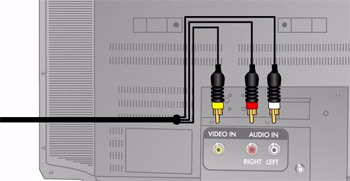
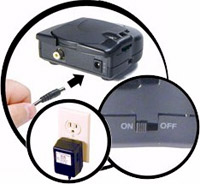
1.) The Receiver connects to the video input jack on your recording orviewing device. Any device with video input capabilities can be used, for example, a VCR, TV, camcorder or computer. Connect the 12V A/C adapter into the D/C input jack located on the back of the receiver and plug the adapter into an A/C outlet. Turn the receiver ON by the switch located on the side of the unit. To set up the receiver connect the set of Video cables with the RCA ends to the yellow Video jack of the receiver and then to the jack on your VCR/Monitor labeled Video input.
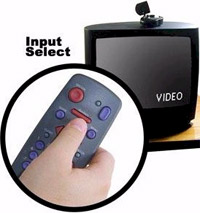
2.) Turn the power to your recording device ON. Select the video input channel on your recording or viewing device that corresponds with the video input jack that the receiver is connected to. This is usually done through the input button on the remote control. For additional information consult your TV, monitor or VCR instruction manual.
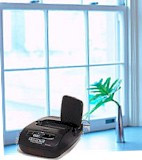
3.) Position the receiver where the best picture reception is obtained. The antenna to the receiver is termed an “omni directional antenna” which should be oriented in certain configurations for best results. Flip the antenna up and rotate unit the best image is received. You may have to place the receiver in a window sill for extreme distances. Please note that the antenna has a limited rotation range.
If you have any questions regarding the setup or operation of this unit, please feel free to contact Riverwind Supply Technical support at 888-409-7665 or sales.support@foalingcamera.com |